구글클라우드 - Tomcat 9 설치 How to Install Tomcat 9 on Ubuntu 18.04 – Google Cloud
카테고리 없음 2020. 8. 3. 09:33https://www.cloudbooklet.com/how-to-install-tomcat-9-on-ubuntu-18-04-google-cloud/
Prerequisites
- Your Compute Engine Instance running.
- For setting up Compute Engine, see the Setting up Compute Engine Instance.
Step 1: Install Java
Once your Google Compute Engine is up and running, connect to your instance using SSH and start by updating the packages.
sudo apt update
sudo apt upgrade
Now you can install OpenJDK Java. Java is required fot Tomcat to serve Java applications.
sudo apt install default-jdkNow Java will get installed and then you can proceed to create tomcat user.
Step 2: Create and Setup Tomcat User
For security purposes we shall create a non root user to run the Tomcat service.
sudo groupadd tomcatNow you can create a new tomcat user and assign it to the home directory /opt/tomcat where we are going to install Tomcat.
sudo useradd -s /bin/false -g tomcat -d /opt/tomcat tomcatStep 3: Install Tomcat
Now download the latest binary release of Tomcat for the official Tomcat downloads page. Under the Binary Distributions, under Core, copy the link of the file with extension tar.gz
Create the directory for Tomcat installation.
sudo mkdir /opt/tomcatDownload Tomcat with the link you have copied.
cd /tmp
curl -O http://mirrors.estointernet.in/apache/tomcat/tomcat-9/v9.0.22/bin/apache-tomcat-9.0.22.tar.gz
sudo tar xzvf apache-tomcat-9.0.22.tar.gz -C /opt/tomcat --strip-components=1
Step 4: Setup Permissions
Move to the directory of the Tomcat installation.
cd /opt/tomcatSetup correct permissions for tomcat user.
sudo chgrp -R tomcat /opt/tomcat
sudo chmod -R g+r conf
sudo chmod g+x conf
sudo chown -R tomcat webapps/ work/ temp/ logs/
Step 5: Create Service
To run Tomcat as a service you need to setup this with a systemd service file.
Locate the path of Java installation. Execute the below command to find the installation path.
sudo update-java-alternatives -lOutput java-1.11.0-openjdk-amd64 1081 /usr/lib/jvm/java-1.11.0-openjdk-amd64Now, create a new file for Tomcat inside /etc/systemd/system directory.
sudo nano /etc/systemd/system/tomcat.serviceMake sure to modify the JAVA_HOME with the path of your Java installation.
[Unit]
Description=Apache Tomcat Web Application Container
After=network.target

[Service]
Type=forking

Environment=JAVA_HOME=/usr/lib/jvm/java-1.11.0-openjdk-amd64
Environment=CATALINA_PID=/opt/tomcat/temp/tomcat.pid
Environment=CATALINA_HOME=/opt/tomcat
Environment=CATALINA_BASE=/opt/tomcat
Environment='CATALINA_OPTS=-Xms512M -Xmx1024M -server -XX:+UseParallelGC'
Environment='JAVA_OPTS=-Djava.awt.headless=true -Djava.security.egd=file:/dev/./urandom'

ExecStart=/opt/tomcat/bin/startup.sh
ExecStop=/opt/tomcat/bin/shutdown.sh

User=tomcat
Group=tomcat
UMask=0007
RestartSec=10
Restart=always

[Install]
WantedBy=multi-user.target
Hit Ctrl + X followed Y and Enter to save and exit the file.
Reload the systemd daemon.
sudo systemctl daemon-reloadNow you can start Tomcat server.
sudo systemctl start tomcatFinally enable Tomcat to startup on system boot.
sudo systemctl enable tomcatStep 6: Configure Tomcat
To use the manager web app you need to login to the server. To setup your username and password edit the tomcat-users.xml file and edit the username and password.
sudo nano /opt/tomcat/conf/tomcat-users.xml<tomcat-users . . .> <user username="admin" password="password" roles="manager-gui,admin-gui"/> </tomcat-users>
Hit Ctrl + X followed Y and Enter to save and exit the file.
By default Tomcat restricts access to Manager and Host manager. So, to allow connections you need to remove the IP restrictions from the corresponding context.xml files.
For the Manager app the file that needs be updated is:
sudo nano /opt/tomcat/webapps/manager/META-INF/context.xml
For the Host Manager app the file that needs be updated is:
sudo nano /opt/tomcat/webapps/host-manager/META-INF/context.xml
Comment out the value section to remove the IP restriction as shown below.
<Context antiResourceLocking="false" privileged="true" > <!--<Valve className="org.apache.catalina.valves.RemoteAddrValve" allow="127\.\d+\.\d+\.\d+|::1|0:0:0:0:0:0:0:1" />--> </Context>
Hit Ctrl + X followed Y and Enter to save and exit the file.
Step 7: Configure Firewall
By default Tomcat runs on port 8080, So you need to open port 8080 to allow connections.
In your Google Cloud Console go to VPC Network >> Firewall rules and click Create Firewall rules.
In Name enter tomcat
In Targets select All instances in the network
In Source filter select IP ranges
In Source IP ranges enter 0.0.0.0/0
In Protocols and ports check TCP and enter 8080.
Click Create.
Step 8: Access Web Interface
Now you can access your Tomcat web manager with your external IP address followed by port 8080.
http://IP_ADDRESS:8080
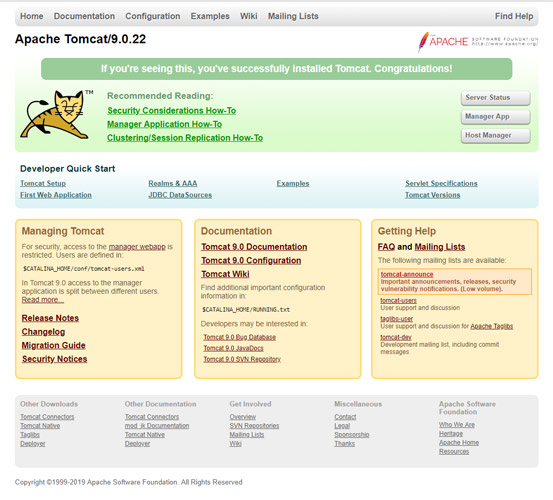
You will see the Tomcat welcome page.
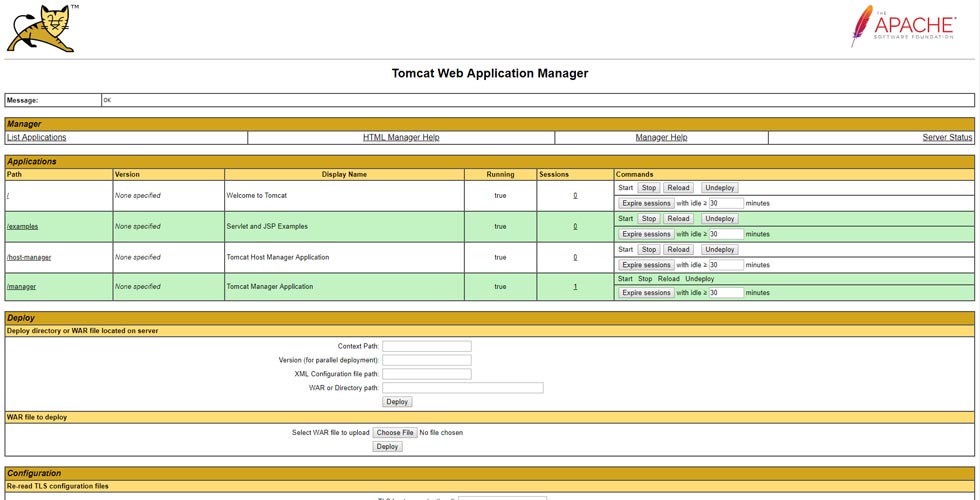
Tomcat Web Application Manager page.
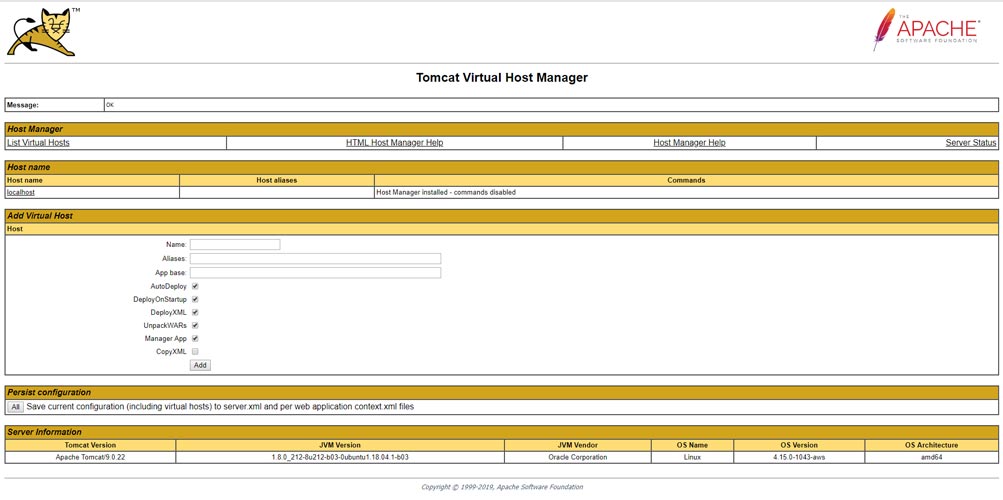
Tomcat Virtual Host Manager.
Conclusion
Now you have installed Tomcat 9 on Ubuntu 18.04, configured it, opened Firewall port. You can feel free to deploy your Java applications.


